
Inside a NatHERS Assessment, Part 5: Windows, Skylights and Ceiling Penetrations
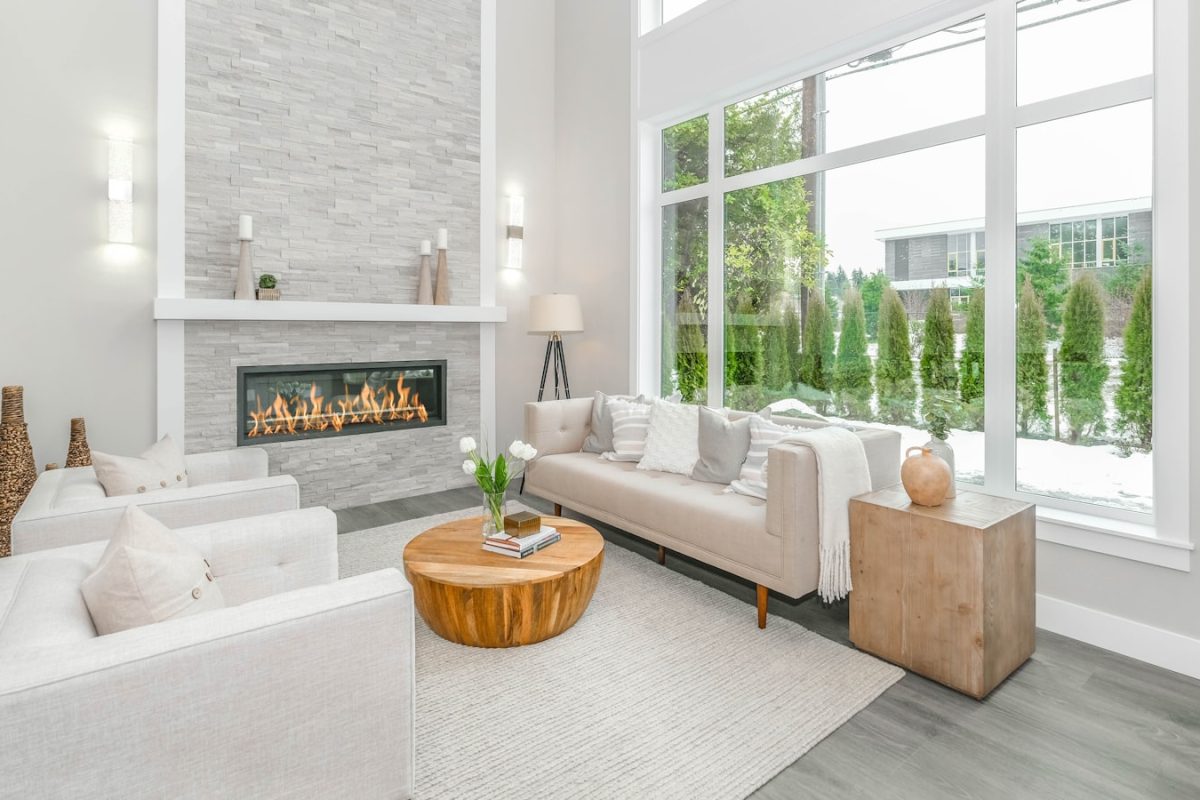
Windows, skylights, openings and ceiling penetrations - the openings that shape ventilation and heat loss. Part 5 of our NatHERS series.
With the building fabric assigned (Part 4), the assessor adds the openings – doors, windows and skylights – and the small holes in the ceiling that quietly affect performance.
Doors and windows
Every door and window is placed and given its real properties, including the window frame colour as a solar absorptance value. Windows are also given an openability, because how far a window opens affects natural ventilation. In the example, awning windows are set to 90 percent, sliding windows to 45 percent, and fixed windows to 0 percent, with the assessor overriding the suggested values where needed.
Skylights and roof windows
Skylights to the ensuite, bathroom and WC are added with the correct shaft length, and a roof window to the kitchen and meals zone is entered with its colour. Shaft length matters because a longer light shaft behaves differently to a flush one.
Permanent and horizontal openings
Where rooms connect with no door, the assessor models a permanent opening so air movement between zones is captured, including a horizontal opening between floors such as a void or stair.
Ceiling penetrations are not trivial
Recessed downlights, exhaust fans and rangehoods all pierce the ceiling and interrupt insulation and air-tightness. The assessor models each one – in the example, 43 sealed downlights, three ceiling exhaust fans, a rangehood and a heat-lamp exhaust unit – with the correct size and clearance. Because insulation cannot sit uncompressed over the perimeter brick-veneer wall, a perimeter edge-batt area is modelled separately. These details prevent a rating that looks better on screen than the home performs in reality.
References and resources
This series follows the worked example known as NatHERS Example 3. The official documents below are the authoritative sources. We host backup copies for convenience, but the versions on nathers.gov.au are definitive.
- Modelling guidance (the steps this series follows): nathers.gov.au | local copy
- Example 3 architectural drawings (the plans referred to throughout): nathers.gov.au | local copy
- Example NatHERS certificate samples (what the assessment produces): nathers.gov.au | local copy
- A guide to the NatHERS Certificate: nathers.gov.au | local copy
- NatHERS Assessor Handbook (the full handbook, all chapters): nathers.gov.au | local copy
- NatHERS guidance note: nathers.gov.au | local copy
Always use the latest version. NatHERS documents are updated from time to time. We do not guarantee that the versions referenced or backed up here are the most current. Always confirm the latest release on the NatHERS website before relying on them.
Disclaimer. This series is for education only. Its purpose is to simplify and explain the official notes where they may not be clear. It is not a substitute for the original documents or for accredited assessor training. If anything is unclear or you have a question, refer to the original document and contact your college or registered training organisation (RTO), or the NatHERS team.
Next – Part 6: Shading, Orientation and the First Star Rating →
Free guide
10 Tips for a 7-Star New Build
Our practical PDF guide to building a comfortable, compliant NSW home - the design decisions that matter most, and how to reach 7 stars without overspending.
We will only use your email to send the guide and the occasional useful update. Unsubscribe anytime. This form is protected by reCAPTCHA.

BASIX & NatHERS specialists helping NSW homeowners and builders achieve energy-efficient, compliant homes.