
Inside a NatHERS Assessment, Part 4: Floors, Ceilings and Walls
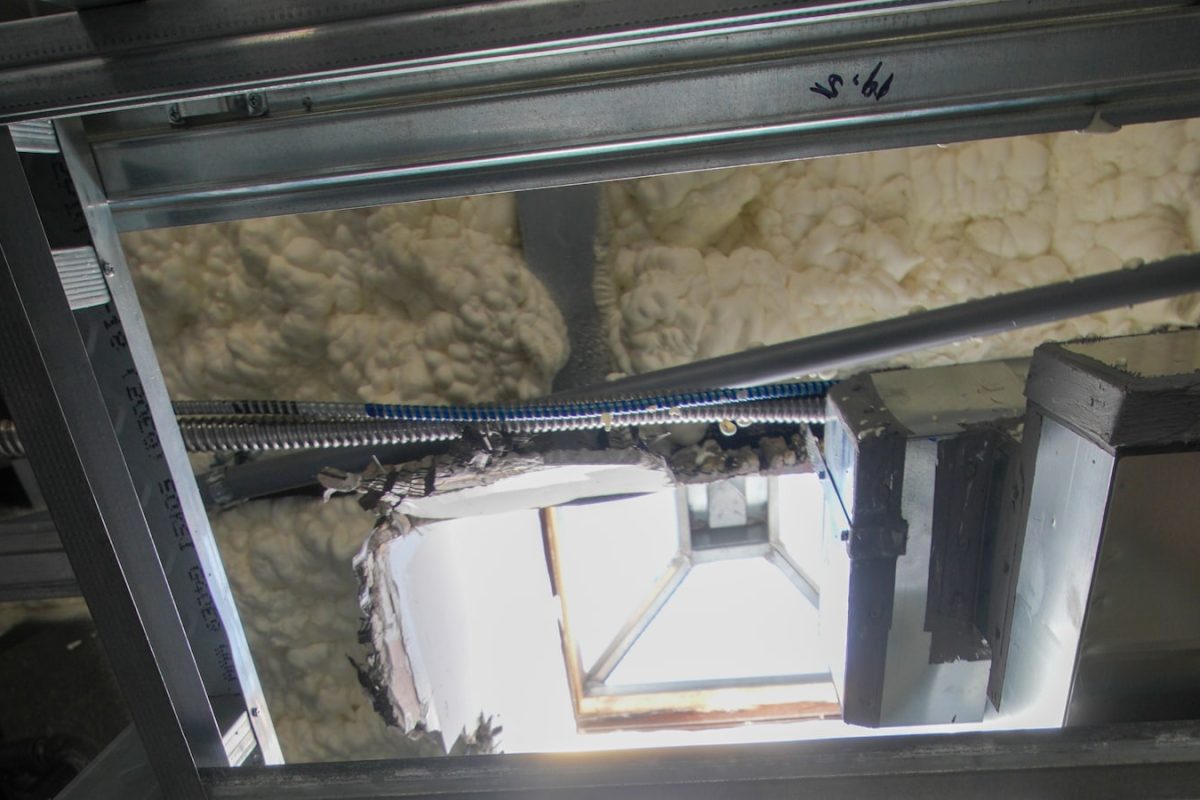
Floors, ceilings, roofs and walls - how insulation, slab edges and roof colour are modelled, and why they win star ratings. Part 4 of our NatHERS series.
The zones are drawn (Part 3). Now the assessor assigns the real construction details – floors, ceilings, roofs and walls – including the insulation that does so much of the work in a NatHERS rating.
Flat and raked ceilings
Where a ceiling is part flat and part raked, as in the example kitchen and meals area, the assessor splits the area and enters the ceiling pitch (23 degrees here) so the sloped surface is measured correctly.
Floors and the ground connection
Each floor is assigned a type and floor covering. Concrete slabs on ground are connected to the ground, while suspended upper-level timber floors get a sub-floor set to enclosed. Floor insulation is added as specified, and a detail that is easy to miss – slab edge insulation – is entered for the lower ground floor (R2.7 in the example).
Ceilings, roof colour and walls
Ceiling and roof types are assigned with their specified insulation, and the roof colour is entered as a solar absorptance value, because a lighter or darker roof changes how much heat the home gains. The assessor then checks wall heights and assigns external and internal wall types, noting that some internal walls differ – for example the wall between the garage and the living area. Walls that are only part-height, such as those next to the sub-floor, are split so only the real area is modelled.
Why this is where ratings are won
Insulation levels, slab edge details and roof colour are among the biggest levers on a star rating, and they are usually low-cost to change on paper. This is exactly the kind of detail a good assessor optimises before construction begins.
References and resources
This series follows the worked example known as NatHERS Example 3. The official documents below are the authoritative sources. We host backup copies for convenience, but the versions on nathers.gov.au are definitive.
- Modelling guidance (the steps this series follows): nathers.gov.au | local copy
- Example 3 architectural drawings (the plans referred to throughout): nathers.gov.au | local copy
- Example NatHERS certificate samples (what the assessment produces): nathers.gov.au | local copy
- A guide to the NatHERS Certificate: nathers.gov.au | local copy
- NatHERS Assessor Handbook (the full handbook, all chapters): nathers.gov.au | local copy
- NatHERS guidance note: nathers.gov.au | local copy
Always use the latest version. NatHERS documents are updated from time to time. We do not guarantee that the versions referenced or backed up here are the most current. Always confirm the latest release on the NatHERS website before relying on them.
Disclaimer. This series is for education only. Its purpose is to simplify and explain the official notes where they may not be clear. It is not a substitute for the original documents or for accredited assessor training. If anything is unclear or you have a question, refer to the original document and contact your college or registered training organisation (RTO), or the NatHERS team.
Next – Part 5: Windows, Skylights and Ceiling Penetrations →
Free guide
10 Tips for a 7-Star New Build
Our practical PDF guide to building a comfortable, compliant NSW home - the design decisions that matter most, and how to reach 7 stars without overspending.
We will only use your email to send the guide and the occasional useful update. Unsubscribe anytime. This form is protected by reCAPTCHA.

BASIX & NatHERS specialists helping NSW homeowners and builders achieve energy-efficient, compliant homes.